The steps to add an external monitor to your groov EPIC controller by connecting it to its HDMI port are:
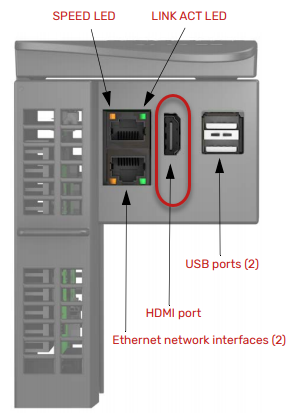 |
1. Log into groov Manage as an administrator. 2. Connect your monitor with an HDMI cable to the HDMI port on the groov EPIC processor. |
 |
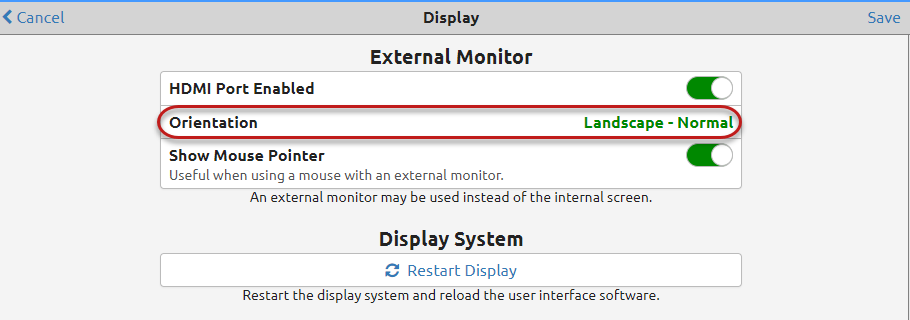
3. From the groov Manage Home screen, select System > Display. The display options are shown. Note: This view is from a PC connected through a browser to the groov EPIC processor. The view from the touchscreen includes an option to calibrate the touchscreen. 4. Slide the HDMI Port Enabled slider button to the right, it turns green. |
|
|
5. To set up the monitor's orientation, select the Orientation option. |
 |
The Orientation screen offers these options:
6. Select the option you prefer for the monitor.
|
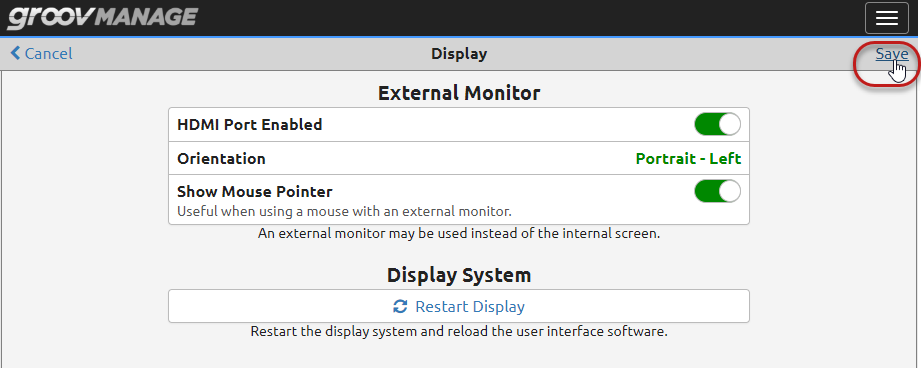 |
7. Click Save. |
 |
8. Click Restart Display to have the changes you made saved and take effect. 9. After a short time, the login screen appears and you can log back into your groov EPIC processor. |